")
Opening your laptop screen may seem simple, but doing it the right way helps prevent damage and keeps your device in great shape. Whether you’re working, gaming, or browsing, following a few easy steps on how to open a laptop screen can make a big difference. This guide covers:
- Setting up your workspace
- Proper handling techniques
- Adjusting the screen safely
- Maintenance tips
Let’s get started!
Tools Required for Opening a Laptop Screen
Before you begin, make sure you have these tools ready to make the process easier and safer:
- A small Phillips-head screwdriver
- A plastic pry tool (or a flathead screwdriver with tape on it)
- Tweezers
- A magnetized container to hold screws
- A soft microfiber cloth to protect your screen and laptop frame
Using the right tools will help you work carefully and finish the job without causing any damage.
How to Open a Laptop Screen
Step1: Powering Down and Disconnecting

- Completely shut down your laptop.
- Unplug it from the power source.
- If the battery is removable, take it out.
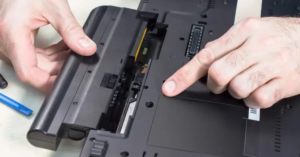
Step2: Removing the Battery
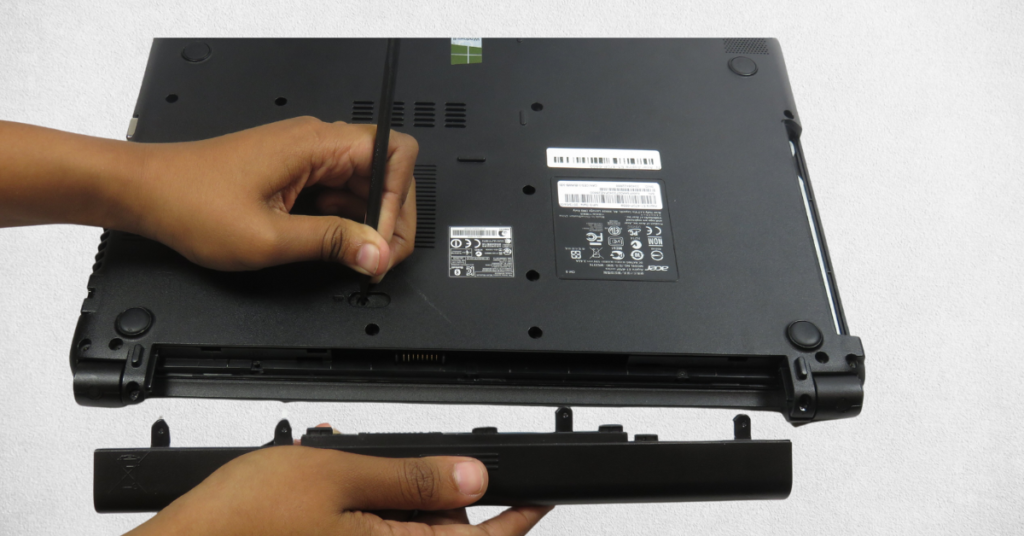
- For removable batteries: Flip the laptop over and slide the latch to take out the battery.
- For built-in batteries: Ensure the laptop is off and unplugged.
Step3: Remove the Screw Covers
- Find the small rubber or plastic covers hiding the screws on the screen bezel.
- Use tweezers or a flathead screwdriver to gently remove these and keep them safe.
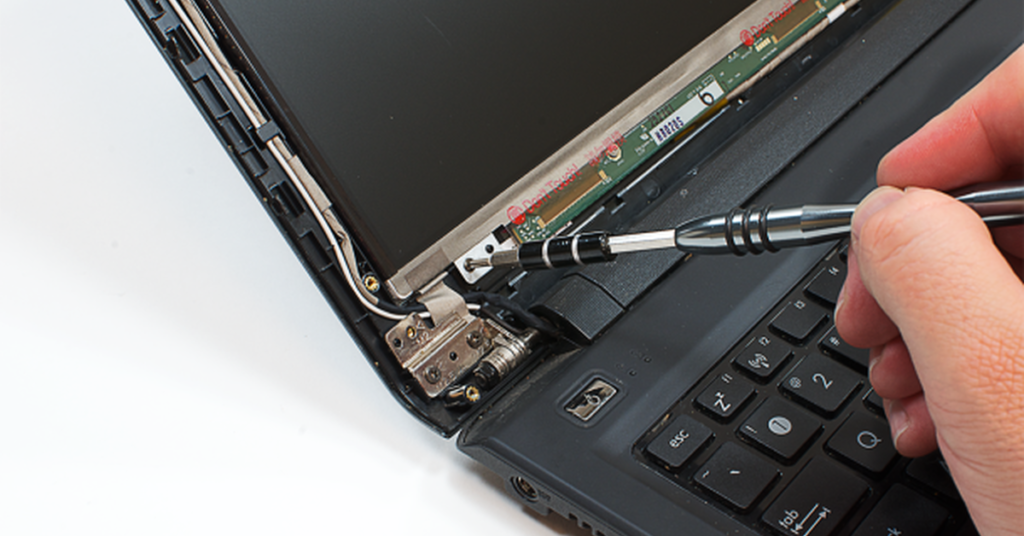
Step4: Unscrew the Bezel
- Use a Phillips-head screwdriver to take out the screws holding the bezel.
- Keep the screws in a magnetized container so you don’t lose them.
- Use a plastic pry tool to carefully separate the bezel from the screen, starting at one corner and working around.
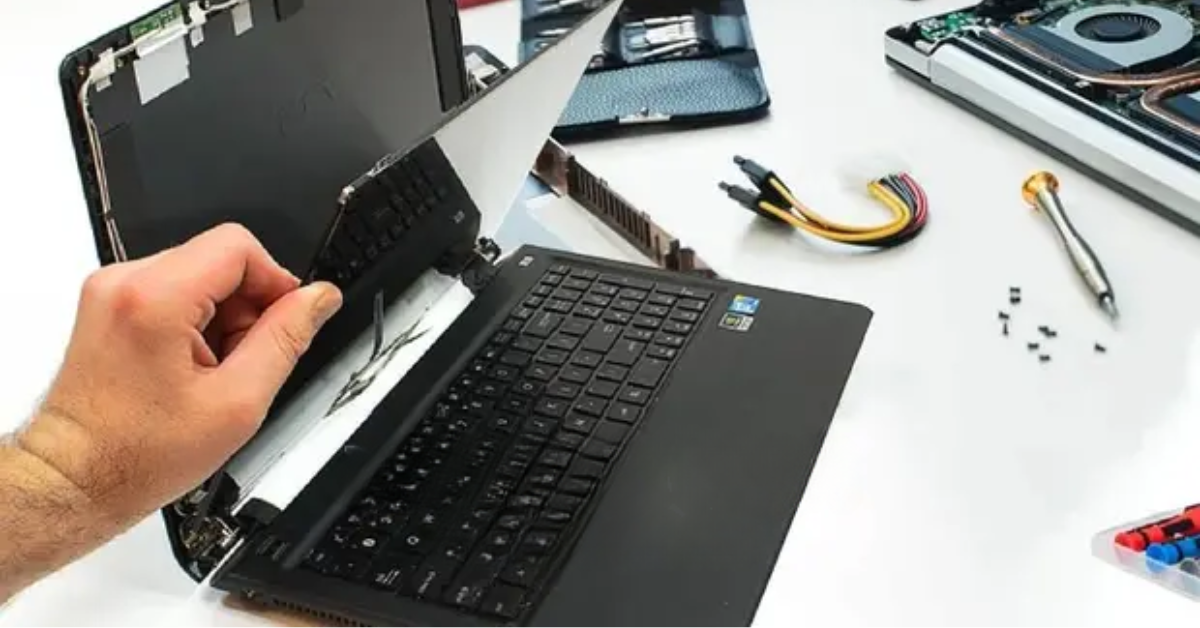
Step5: Remove the Screen
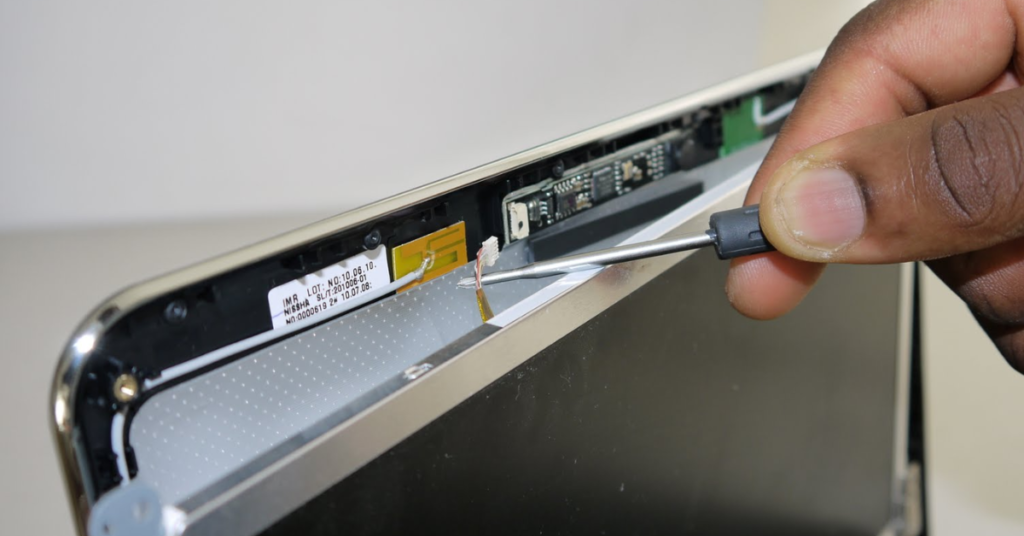
- Unscrew the screen from the frame.
- Tilt the screen forward to access the ribbon cable or connectors.
- Gently disconnect the cables without pulling too hard.
- Carefully lift the screen out of the frame.
Conclusion
Opening a laptop screen might seem tricky, but it’s doable if you follow these steps. Whether you’re fixing, cleaning, or replacing it, having patience and the right tools is essential for a smooth DIY process. Go slow, and if you’re unsure about anything, check your laptop manual or ask a professional for help.
FAQs
How to open a laptop screen properly?
Turn off your laptop, unplug it, and remove the battery if possible. Take off the screw covers, unscrew the bezel, and carefully disconnect any cables. Use the right tools and handle everything gently to avoid damage.
How do you open a stuck laptop screen?
Look for hidden screws or adhesive that might be holding the parts together. Use a pry tool to gently loosen the edges without forcing anything. If it’s still not coming apart, it’s best to get professional help.
Can I replace the screen by myself?
Yes, most users can replace a laptop screen with the right instructions. Just follow the steps in my guide for a safe and successful process.
How long does it take to open and replace a laptop screen?
For beginners, replacing a laptop screen typically takes 30–60 minutes, depending on how complex the laptop is and how familiar you are with the steps.
Is opening a laptop screen risky?
When done carefully, the risk is low. Handle all components gently and follow each step methodically to prevent any damage.