")

Removing a laptop battery may seem like a tricky task, but it’s simple when done carefully. Whether you’re replacing a dead battery or troubleshooting a laptop issue, this guide on how to remove laptop battery will walk you through every step. Follow along, and you’ll have it done in no time.
Safety Precautions Before Removing a Laptop Battery
Before you begin, follow these safety tips to avoid any accidents:
- Power Down Completely: Always turn off your laptop and unplug it from any power source.
- Avoid Static Damage: Use an anti-static wrist strap to protect internal components from static electricity.
- Work in a Safe Area: Choose a clean, dry surface with good lighting. Avoid working on carpets or near liquids.
Tools Required for Laptop Battery Removal
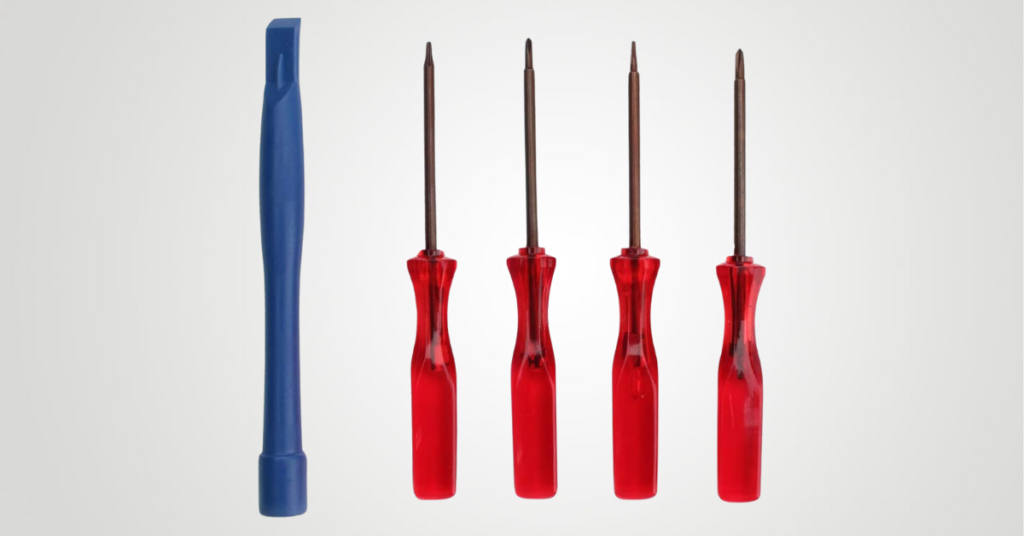
Screwdrivers
You’ll need a small Phillips-head or flat-head screwdriver to open screws. Most laptops use tiny screws, so precision is key.
Plastic Pry Tools
These tools help in opening the laptop case without scratching or damaging it.
Anti-Static Wrist Strap
This is essential to ground yourself and protect your laptop’s delicate components from static electricity.
Step-by-Step Guide to Removing an External Laptop Battery
Removing an external battery is straightforward. Follow these steps:
1. Find the Battery on Your Laptop
Look at the back or underside of your laptop. Most external batteries are long and rectangular.
2. Turn Off Your Laptop
Make sure it’s powered off and unplugged from any power source.

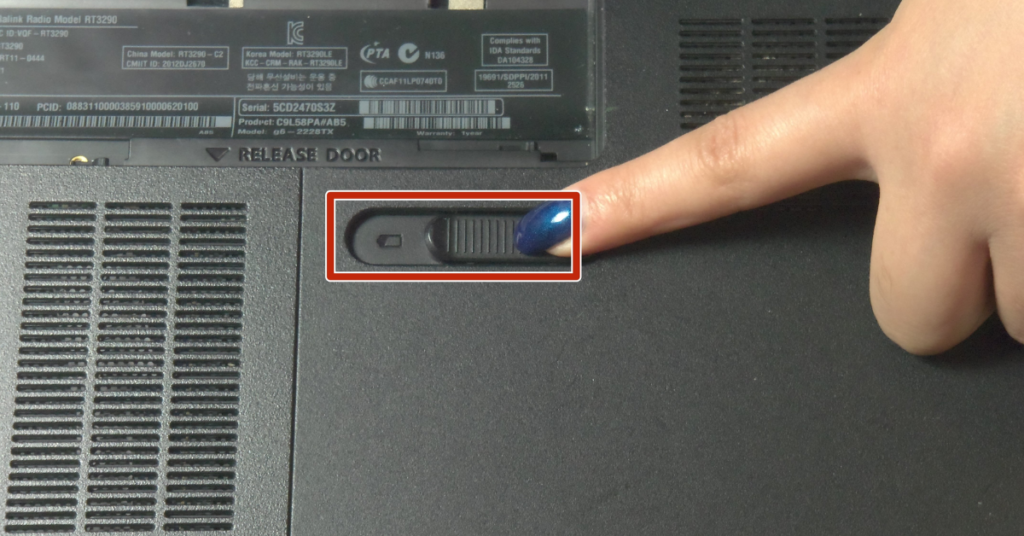
3. Unlock the Battery Latches
Locate the latches or sliders holding the battery. Slide or push them to unlock the battery.
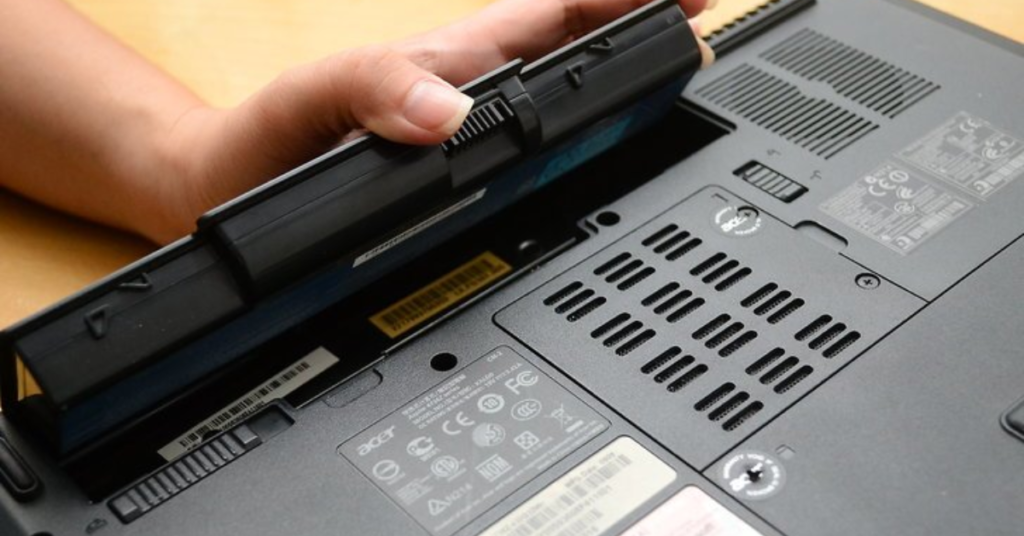
4. Take Out the Battery
Once unlocked, gently pull the battery out. Avoid forcing it, as it might damage the connectors.
5. Store the Battery Safely
Place the battery in a cool, dry place if you plan to reuse it. Avoid exposing it to extreme heat or moisture.
Step-by-Step Guide to Removing an Internal Laptop Battery
Internal batteries require a bit more effort to remove, but it’s manageable with the right tools and patience.
1. Turn Off and Unplug Everything
Turn off the laptop, unplug the charger, and disconnect any peripherals like USB drives or headphones.
2. Get Your Workspace Ready
Place your laptop on a clean, flat surface. A desk or table works best. Lay a soft cloth underneath to avoid scratches.
3. Open the Laptop’s Bottom Panel
Use a screwdriver to remove the screws on the bottom panel of your laptop. Keep the screws in a small container so you don’t lose them.
4. Find the Battery Inside
Once the panel is off, locate the battery. It’s usually a flat, rectangular component with a cable connecting it to the motherboard.
5. Unplug the Battery Cable
Carefully disconnect the cable that links the battery to the motherboard. Use your fingers or plastic pry tools to avoid damage.
6. Remove Any Screws Holding the Battery
Some batteries are secured with screws. Use your screwdriver to remove them.
7. Take Out the Battery
Gently lift the battery out of its slot. Be cautious to avoid pulling on any other components.
8. Inspect and Dispose of the Battery
Check the battery for any visible damage like bulges or leaks. Dispose of it responsibly at a recycling center if it’s no longer usable.
Tips for After Battery Removal
- If you’re replacing the battery, ensure the new one is compatible with your laptop model.
- Always handle batteries with care. Damaged batteries can leak harmful chemicals.
- Reattach screws and panels properly after you’re done to keep your laptop secure.
Conclusion
Removing a laptop battery is simple when you follow these steps. With a little care and the right tools, you can do it easily and safely. Whether it’s an external or internal battery, take your time and follow the guide step by step.
FAQ’s
Can I remove my laptop battery while the laptop is on?
No, you should never remove the battery while the laptop is on. Always power it down completely and unplug it from any power source to avoid damaging the internal components or causing a short circuit.
What tools do I need to remove an internal laptop battery?
You’ll typically need the following tools:
A small Phillips-head or flat-head screwdriver
Plastic pry tools
An anti-static wrist strap to prevent static electricity from damaging the components
What should I do with an old or damaged battery?
Do not throw it in the trash. Take it to an electronics recycling center or a store that accepts old batteries. Many retailers, like Best Buy, have recycling programs for electronic waste.
How long does it take to replace a laptop battery?
Replacing an external battery takes only a few minutes. Replacing an internal battery may take 20–30 minutes, depending on your familiarity with the process and the complexity of your laptop’s design.